I was able to find a long arm Model GE saw, which are very hard to find. The long arm enables the user to have a very wide crosscut. Here is the saw as delivered.

This saw is VERY heavy, about 800 lbs all in. Taking these apart will require help as the yoke and roller carriage with the motor weighs in at approximately 115 lbs. The arm is estimated to be about 100-125 lbs as well. You can hurt yourself if you're not strong enough to handle these loads alone.
I have a hydraulic cart to maneuver the machine around while it still whole, which is helpful.
I started by PB blasting every bolt and nut I could find and let it sit overnight. I PB Blasted again in the morning so I could start the dis-assembly process when I returned home that evening from work.
I began by removing the arm end cap so I could remove the yoke, carriage and start/stop wiring to reduce the weight. I then dis-assembled the motor from the yoke. The yoke has two parts, a top and bottom which are held together by two bolts which are easily removed.


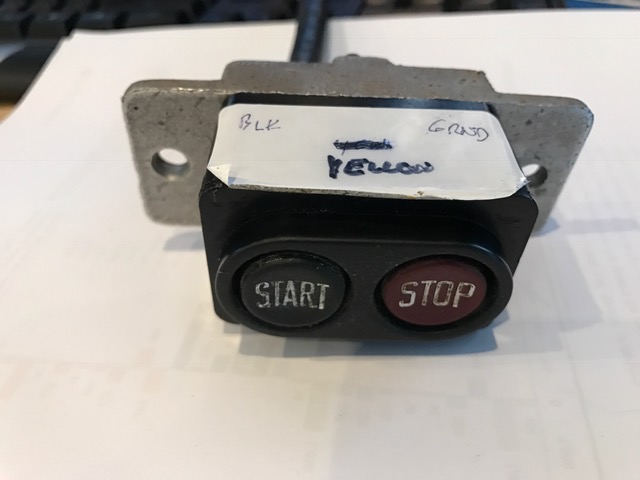
I then removed the start/stop button switch from the end cap, the end cap alone weighs about 5 lbs!
As you can see the inside of the switch is very dirty and the wiring is original from the 1950s, cloth wrapped wire. I will be replacing that with up to date 12/3 SJOOW 300 volt portable cord which I procured from cableandwireyourway.com. The inside strands are a bit rigid, I probably should have used 14/3 SJOOW, maybe I will on my other GE restoration.

That is an important piece, it keeps any sparks from shorts from contacting the metal backing, DON'T BREAK IT. I had to modify the hole in it for my 12/3 cable. I did so by screwing it down to a scrap piece of wood and clamping that wood to a table top. then I drilled the hole bigger with a 1/2 bit.

Here is the newly drilled hole.

I replaced the wiring for the switch. I used heat shrink tubing on the ring terminals, you should always do this to prevent any of the wire from being exposed.


The completely rewired switch.
I then moved onto removing the bearings from the roller carriage.
That and much more in the next installment.
I am looking for a long arm reach ras , what would be a good price to pay for a saw like you posted & after restoration what will you ask for it . . Thank you Richard from Knoxville tenn
ReplyDelete